Black Fruit Tree Espalier Frame
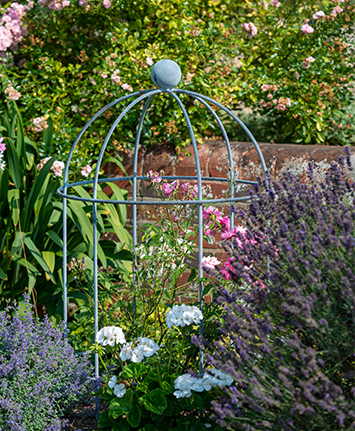
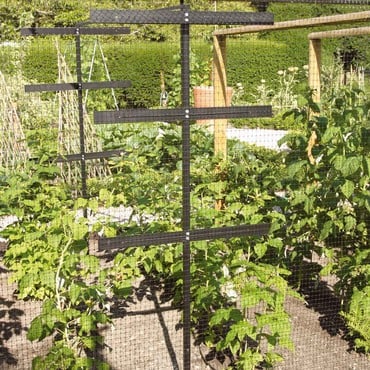
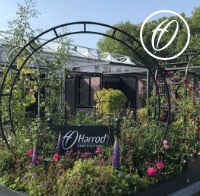
This sturdy 0.9m/35" W x 1m/3'3" H black powder coated steel Fruit Tree Espalier/Cordon Frame adds a touch of Kitchen Garden elegance by allowing an apple or pear tree to be trained as a free standing espalier or cordon
Read More

Guarantee

Made by us in the UK
This sturdy 0.9m/35" W x 1m/3'3" H black powder coated steel Fruit Tree Espalier/Cordon Frame adds a touch of Kitchen Garden elegance by allowing an apple or pear tree to be trained as a free standing espalier or cordon.
The 0.6m/24" long legs stand 0.3m/12" apart and can be pushed directly into the soil or a large pot, and introducing multiple frames creates attractive garden or patio screens and dividers. Full training instructions included.
- Solid steel frame
- Measures 0.9m/35" W x 1m/3'3" H
- Legs are 0.6m/24" long and stand 0.3m/12" apart
- Ideally suited to both open soil or a large decorative pot
- Espalier and cordon frames are best suited to apples, pears and some plums
- Black Powder Coated finish
Product Reviews
Growing Instructions
These instructions will help you to grow a fruit tree in the style shown above using your Harrod Horticultural Support Frame. This type of training should produce a good yield of fruit and result in an attractive natural feature.
Start by selecting a healthy tree from a nursery or garden centre. This style of growing is most suited to apple and pear trees. These instructions start with a simple maiden whip but some outlets now offer ready trained trees.
Make sure that you ask for a dwarfing root stock M27 / M9 (apple) or Quince C (pear).
If you are using the frame with a pot ensure that the pot is at least 15”/ 38 cm diameter and the same deep so that the frame legs will fit within the pot as shown below. This size of pot filled with a compost like John Innes No 3 will ensure stability and also adequate water retention in the
summer.
Place crocks in the base of the pot to ensure free drainage. Line terracotta pots inside wall with polythene sheet and mulch the top of the soil to help prevent evaporation.

Step 1.
Plant the tree with the graft above the soils surface Prune the fruit tree as shown above during the winter leaving a healthy bud either side below the cut. If your tree has suitable branches that can be left to resemble step 2. then use them, trimming off any other unwanted side shoots.
Step 2.
Early summer the following year, tie the topmost two side shoots as shown to canes at approximately 45o and remove any other unwanted shoots. To encourage growth of one or the other shoot, raise the angle of the cane towards the vertical. Lowering the angle will have the opposite effect. This technique can be used to ensure symmetrical growth.
Step 3.
Early autumn bend the shoots horizontal from the main trunk and then bend and tie the tips of each side shoot vertical as shown. During the winter prune as shown, removing any unwanted shoots and leaving a healthy bud either side below the cut as in step one.
Step 4.
Early summer the following year tie the topmost two side shoots as shown above as in step 2. (canes may not be required). Early autumn bend the shoots horizontal and then onto the vertical bars as shown above. From then on prune to maintain the form. Fruit will occur on two-year-old and older shoots and on short spurs produced on the older wood


