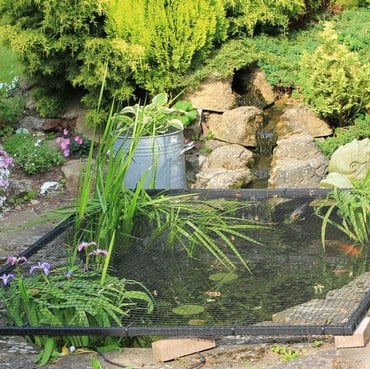
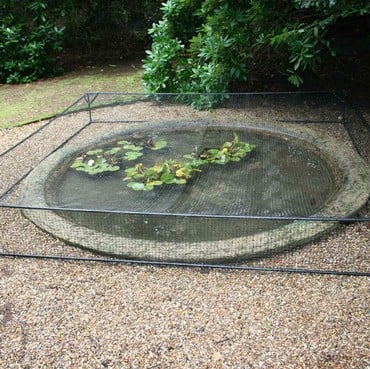
For those with an irregular shape pond, our combination of 25mm/1” square x 1.5mm thick galvanised steel linking bars and tough nylon connectors will enable you to create your own tailored lightweight pond coversYou even have the option to configure a flat or raised frame!
Easy as 1, 2, 3...
• Measure your pond circumference to work out which linking bars you need to fit your pond's shape. Bamboo canes cut to lengths are really useful to help measure and decide on the best way to encircle your pond. Note that connectors will add 2cm to the end of each bar.
For a flat pond cover
• Order the same number of flat connectors as horizontal linking bars.
For a raised pond cover
• Order double the number of horizontal linking bars as you would for a flat cover to form the upper and lower linking rails.
• Decide on the height required (20cm or 45cm), order the same number of uprights as pairs of linking bars. (Please note that these must be all the same length.)
• Then select the same number of raised connector pair packs as uprights.
1. STEEL LINKING BARS
Horizontal Linking Bars:
0.50m L GDN-753
1.00m L GDN-754
1.50m L GDN-757
2.00m L GDN-758
Steel Upright Bars for a Raised Cover:
15cm L (results in 20cm H cover) GDN-751
40cm L (results in 45cm H cover) GDN-752
2. DURABLE CONNECTORS
Operate in an angle range of 45° - 195° degrees.

Flat Cover Connector
(Single) - GDN-759
Raised Cover Connectors
(pair) - GDN-829
*NB. Each connector will add 25.4mm to the length of the bar when inserted in the bar.
3. ATTACH YOUR NETTING
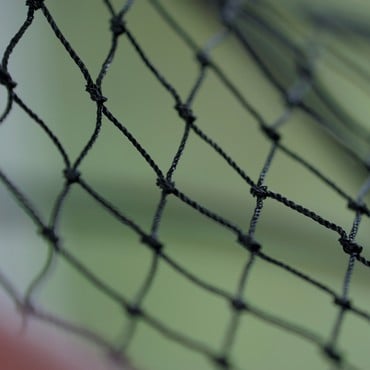
The final stage is choosing your netting and fixing option. We recommend our extra heavy-duty 19mm knotted mesh protection netting
For FLAT covers simply measure a square or a rectangle that will cover the entire pond surface, round up to the nearest whole metre.
For RAISED covers do the same but add at least double the height chosen (in each width & length direction) for your cover to accommodate the vertical section.
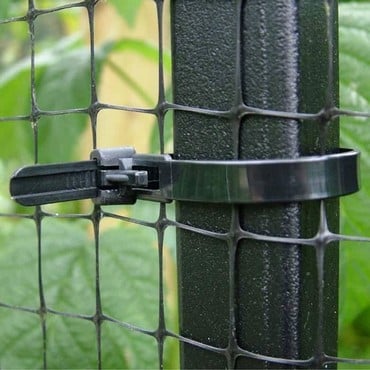
Netting can either be attached with releasable net ties or for the neatest and strongest solution we recommend securing the netting with whipping twine.
For FLAT covers you will need to order 5m of twine per metre of circumference and double the amount for RAISED covers.
We also recommend ordering a whipping needle as this will make stitching the cover in place far easier.
- Releasable Net Ties (pack of 10) GDN-901 – 4 per metre required for FLAT covers and double this amount for RAISED covers.
- Whipping Twine (per 5m length) TWN-001 - Please Note: Twine is supplied in 5m lengths as standard, if you require longer lengths of twine please contact Customer Services on 0333 400 6400 for assistance.
- Whipping Needle TWN-295
For additional planning assistance please call 0333 400 6400 (local rate).
Product Reviews
Product arrived quickly and as described. Easy to assemble once you stake out the components prior to attaching the netting. Looks good in place and has been effective in stopping the heron getting at our fish. Highly recommended.
The steel bars are excellent for fixing around an odd shaped pond. My pond is 8m in diameter, with uneven rocks around the edge, so the bars rest on the rocks well, because they are quite heavy. The tricky part was stretching out the netting to the stated size. Despite following instructions, it was not easy to get the piece of netting to stretch out to the right shape. We needed to join 2 pieces of netting, to get sufficient area, so we stretched it as best we could and pulled it taut after fitting to the frame already positioned on the rocks. I'm very glad the cable ties are re-usable - after a day or 2 adjustments were needed to prevent the net sagging into the water. It is a great product, expensive if you have a big pond, just needs patience and persistence to get it right. I imagine it's much easier if you can use one piece of netting & are laying it on a flat surface - but wildlife ponds don't usually look like that. Next year I expect it will be easier!
I have an awkward shaped pond and needed a product that would accommodate this. This product fitted the bill perfectly. I had to cut a couple of bars to length which was quite a challenge as the material is quite substantial. Once done however it was easy to assemble. The brackets are held together with nuts and bolts which can be loosened to allow plenty of give whilst aligning the framework. Some of the brackets were in my opinion a bit too loose when fitted into the bars so I ended up wrapping some tape around the end of the brackets to produce a tighter fit. Not a big problem and not all the brackets had the problem. Once the frame was aligned correctly I tightened all the bracket nuts and bolts before fitting the netting. The netting incidentally had coloured twine attached to each corner. This was actually very helpful as otherwise the corners would have been a pain to locate. I used the Quick Release Net Ties to affix the net to the frame. Being an odd shaped frame this took some time to get it right and I found I had to release and re-position some ties before I got the net uniformly stretched over the frame. The end result was very pleasing and totally Heron-proof. I was slightly concerned that the net might entangle birds (not Herons!) that landed on it but when I saw a Wood Pigeon happily strutting across it I decided I need not worry.


