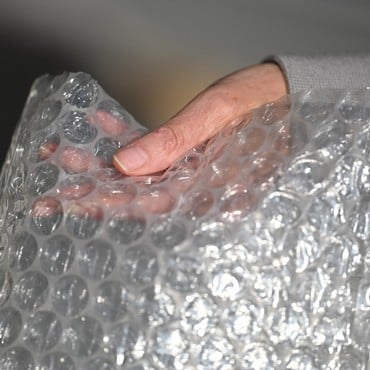
Our 1.5m (5') wide, laminated, UV stabilised greenhouse bubblewrap insulation is the real deal - beware of the packing bubble wrap where you can easily burst the bubbles with your fingers as this won't do the job. Our greenhouse bubble wrap will help to keep an unheated greenhouse frost free so greatly reducing fuel/electricity consumption in heated greenhouses, saving up to 50% on heating costs!
Tri-laminated 10mm bubble greenhouse bubble wrap should be placed with the bubbles against the glass for maximum effect. Ideal for wrapping pots to provide a frost free protection.
The tri laminate construction creates a strong 'sandwich' effect making our bubble insulation the best around - you'll find it hard to burst our bubbles! - and as the material is UV stabilised too, you can bank on it maintaining winter warmth for years to come!
- Bubble Insulation is tri laminated for added strength and durability
- UV stabilised so will last for seasons
- Weighs 102g/sqm (not to be confused with cheaper versions weighing only half as much)
- Diameter of the bubbles is 10mm
- Can cut greenhouse heating costs by up to 50%!
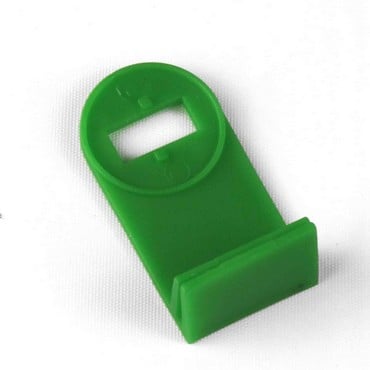
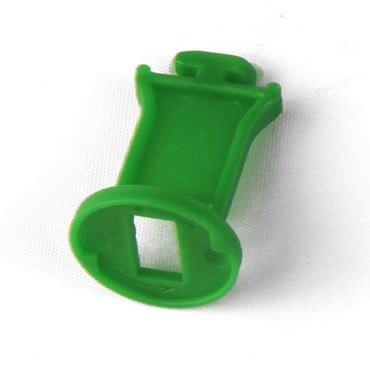
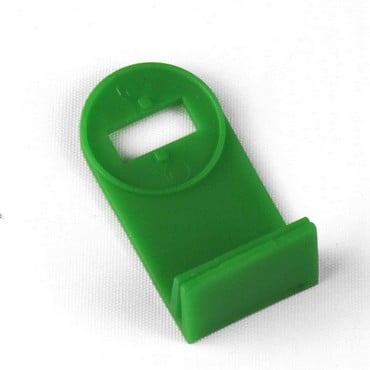
- Use with our alliplugs
- Easy to fix up and take down
- Will last season after season
- Perfect for aing around pots for winter protection
- Fit to the inside of the greenhouse to create a heat maintaining double glazing effect
- Allispacers lift bubble insulation off glass creating greater insulation
- Use corner adaptors for neat corner fit
- Available by the linear metre or in Extra Value 10m roll.
Special Offer - Buy 10m roll & Save £1.00!
Product Reviews
Having inherited a very large greenhouse when we moved into our new home I needed a sizeable supply of bubble insulation relatively quickly. Once again Harrods Horticultural has proved to be a very reliable source of good quality goods, the insulation is of excellent thickness, it arrived very quickly, was well packaged and proved easy to install as it held its shape and did not, like the cheaper products available , flop all over the place!! It has yet to prove its worth but I know that it will keep the temperature up in the greenhouse when the real winter arrives. Highly recommended.
I had bought some insulation from Elixir. I had to send it back as in my opinion it was fit only for packaging. When this insulation turned up the difference was amazing, it being very sturdy. I wanted to staple it to a light frame work to line the roof of our arbour and it has coped with both wind and rain admirably. I also lined the sides to enclose the arbour. This has made a very good temporary greenhouse. If you want photographs I can provide them. Many thanks for a good product. Peter Wilkens.
Many thanks for you comments Mr Wilkens - we would love to see your photographs. If you could you email them through to webteam@harrod.uk.com it would be much appreciated.
How to Insulate the Greenhouse
It’s a great idea to line the inside of your greenhouse during the winter – it’s economical, quick, will frost-proof the structure and can extend the growing season for up to 6 weeks. Working out how much bubble insulation (product code GHE-015) you need and just how to fit it can be a problem, so the chart below will give a rough guide to what you’ll need!
Size of Greenhouse (feet) Amount of Bubble Wrap Required
6 x 4 14m (2 rolls, 1.5m wide)
6 x 8 18m (2 rolls, 1.5m wide)
8 x 10 21m (3 rolls, 1.5m wide)
8 x 12 27m (3 rolls, 1.5m wide)
Don’t forget to allow 3 alliplugs (GHE-009) and spacers (GHE-010) per glazing bar; likewise with the corner adaptors (GHE-011).
When fitting the insulation, the following information may help.
- Measure from the floor to the apex of the greenhouse up one side and back down other, and cut the insulation to length.
- Go to the back of the greenhouse, away from the door then fold the insulation in half and secure the middle to the top ridge.
- Work along each glazing bar securing the insulation to the roof and sides with the alliplugs.
- Have a sharp knife handy to cut the bubble wrap where the vents and windows are sited. Repeat for the next panel, gradually working towards the door.
- The end panel which includes the door is best tackled by attaching the insulation to the outside of the structure, cutting to size and then securing inside.
- Simply cut the insulation which covers the door as this will allow both access and the bubble wrap to hang down – it’s a good tip to allow extra bubble wrap below the door which you can fold and weigh down, allowing less cold air to enter.


